Motorcycle luggage
How to Fit Side Bags on a Royal Enfield Bullet (Step-by-Step Installation Guide)
Fit side bags on a Royal Enfield Bullet or Classic safely: install saddle stays, strap the bags, clear the exhaust, balance the load and check before you ride.
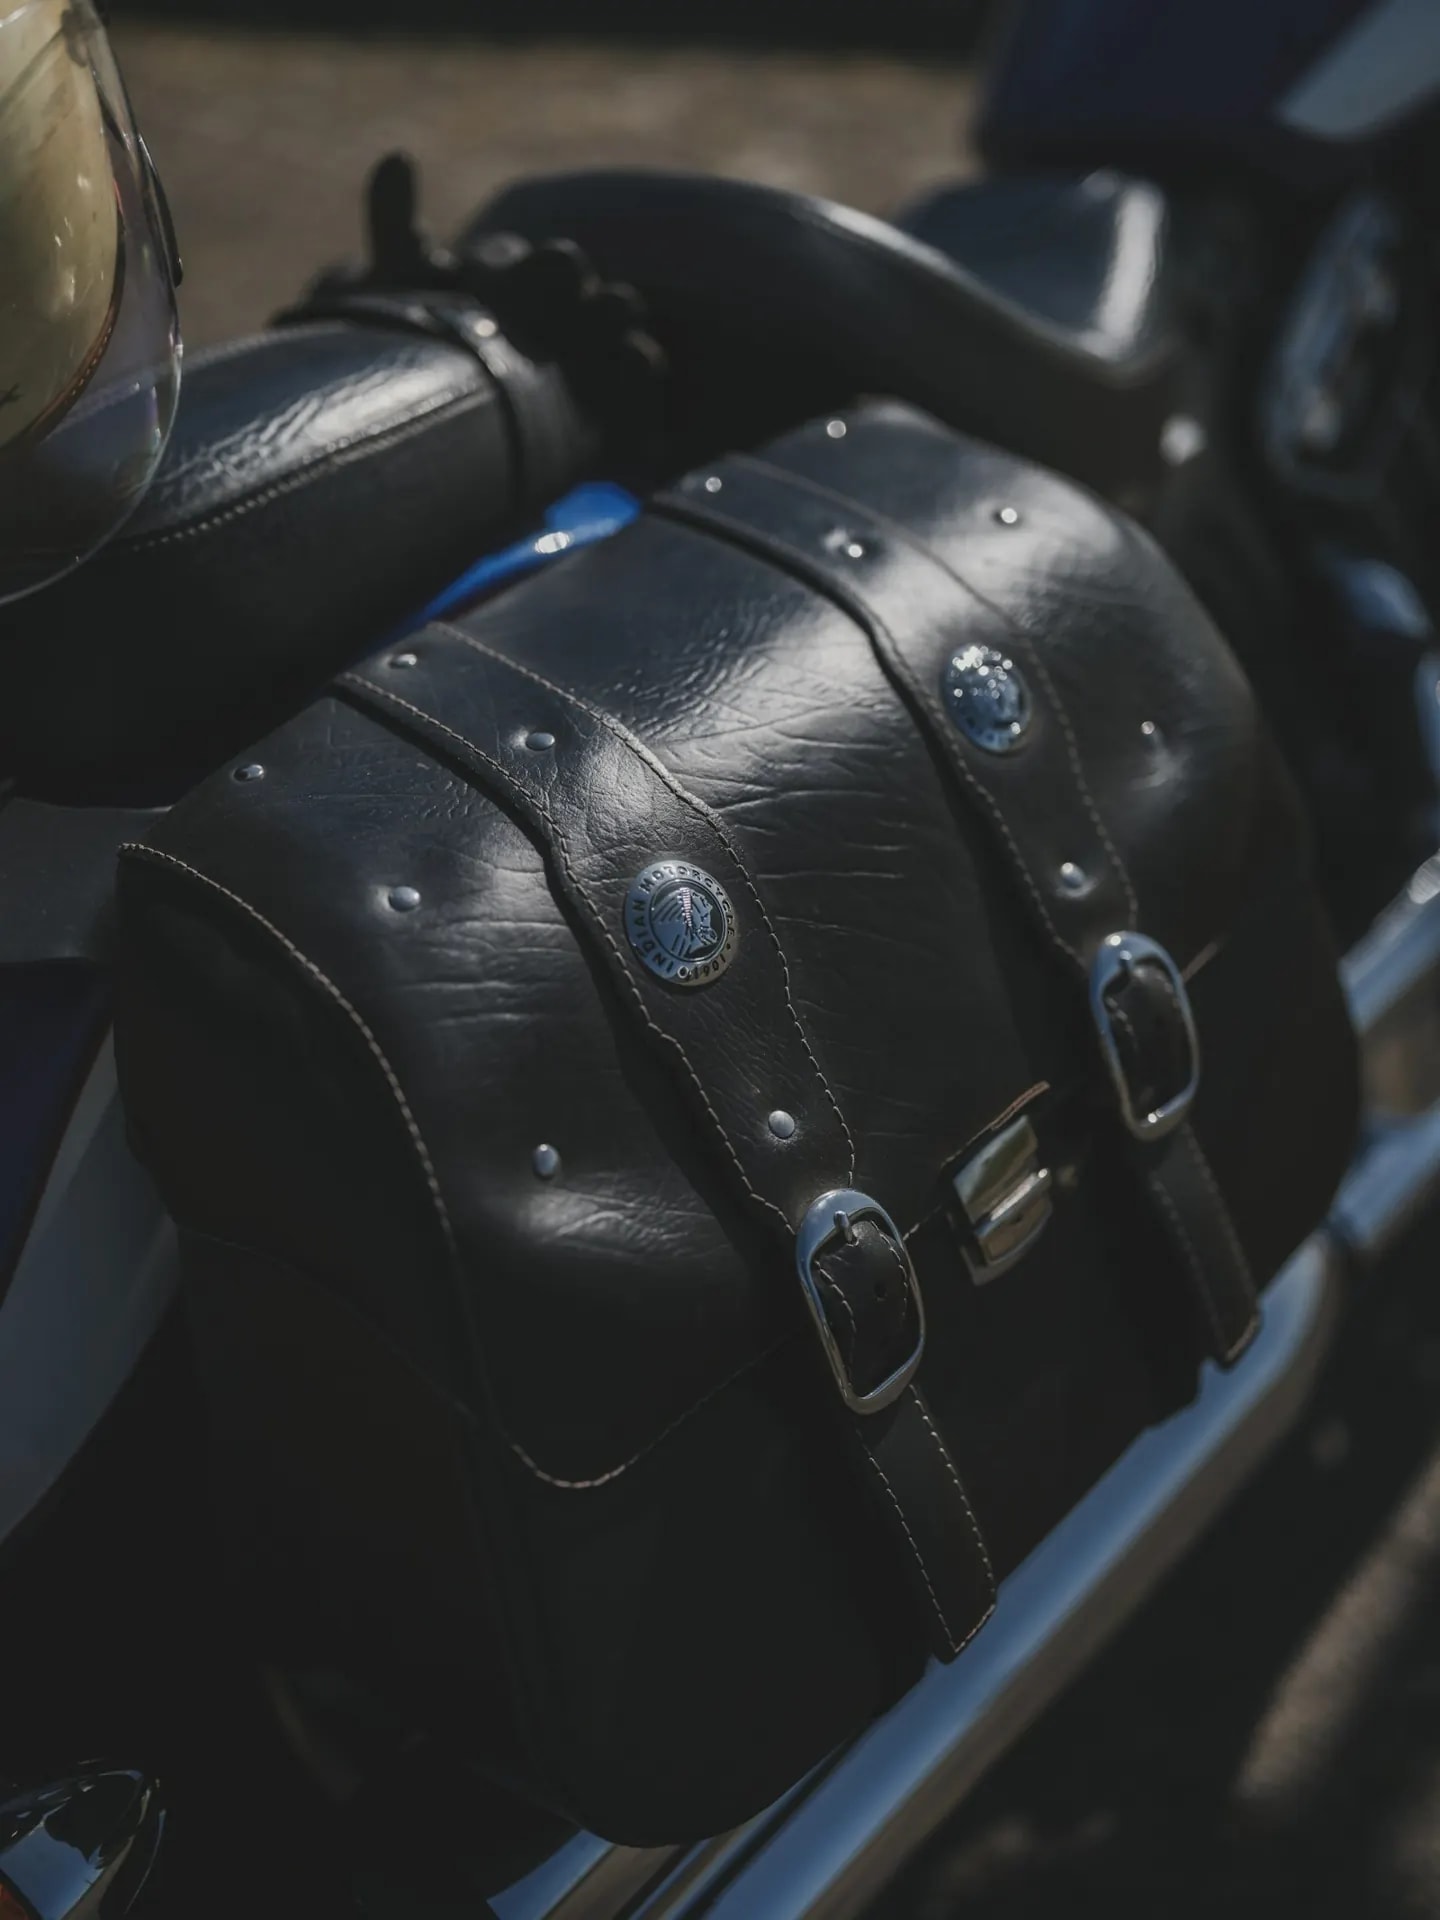
Short answer
To fit side bags on a Royal Enfield Bullet, first bolt saddle stays made for your model to the rear frame mounting points, then hang or strap the bags to the stays, secure every strap so nothing can reach the wheel or chain, and check there is clear space between the right bag and the exhaust. Load both bags evenly, re-check all bolts and straps after the first 20–30 km, and adjust tyre pressure for the extra load.
Key takeaways
- Saddle stays come first — they keep bags out of the wheel and away from the exhaust.
- Use stays made for your exact model and year, and tighten bolts to the torque in your service manual.
- Tuck away every loose strap end; a flapping strap can wrap around the chain or wheel.
- Re-check bolts, straps and exhaust clearance after the first 20–30 km.
Before you start
Fitting side bags takes under an hour if you have the right parts. You need three things:
- A pair of side bags sized for your riding — see the Royal Enfield side bags buying guide if you are still choosing.
- Saddle stays (also called side bag frames or pannier stays) made for your exact model and year.
- Basic tools — spanners or sockets, Allen keys, and ideally a torque wrench.
Work on a cold engine. The silencer on a Bullet stays hot for a long time after a ride.
Why saddle stays are not optional
A soft side bag is a flexible object hanging next to a spinning wheel and a hot exhaust. Saddle stays solve both problems:
- They create a rigid wall between the bag and the rear wheel and chain, so the bag cannot be pulled into the spokes on a bump.
- They hold the bag a fixed distance from the exhaust, so it cannot sag onto the silencer as it fills up.
- They give the lower straps something solid to anchor to, so the bag does not swing in corners.
On the Bullet 350 and Classic 350 the exhaust is on the right, so the right-hand stay matters most. On most 650 twins there is an exhaust on both sides — check our fitment guide by model.
Step-by-step installation
The numbered steps further down this page summarise the process; here is the detail.
1. Park and prepare
Put the bike on the centre stand on level ground. Remove the pillion seat cover or anything stored on the seat. Lay out the stays and their bolts so you can see what goes where.
2. Identify the mounting points
Most saddle stays use existing threaded points on the rear frame — around the rear shock mounts, the grab rail and the pillion footrest brackets. Match each bracket on the stay to its point on the bike before you remove any original bolt.
3. Fit the stays loosely, then tighten
Replace one original bolt at a time with the longer bolt supplied (if any), passing it through the stay bracket. Fit all bolts finger-tight first, check that both stays are symmetrical, then tighten them to the torque given in the instructions or your service manual. A medium-strength thread-locker helps on bolts that see constant vibration.
Tighten in a cross pattern — top left, bottom right, top right, bottom left — so the stay seats evenly without bending.
4. Mount the bags
- Throw-over bags: lay the connecting panel across the pillion seat (or under it, if your design allows) so the bags hang evenly on both sides.
- Individual strap-on bags: hold each bag against its stay at the right height and fasten the top straps first.
Then fasten the lower straps around the stay tubes. The bag should sit snugly against the stay, not hang freely below it.
5. Check clearances
With the bags on, check:
- Exhaust — clear space between the bag and silencer along its full length.
- Wheel and chain — push the bag firmly inward; it must not reach the tyre, spokes or chain.
- Suspension — bounce the rear; the bag must not touch the tyre at full compression.
- Lights and plate — indicators, tail-lamp and number plate fully visible.
6. Tidy every strap
Loose strap ends are the most common cause of side bag accidents. Roll them up and secure them with strap keepers, Velcro ties or cable ties.
7. Load and test ride
Pack both bags to a similar weight with heavy items low. Ride slowly around the block, then stop after 20–30 km on your first trip and re-check every bolt and strap. Loads settle and straps stretch slightly at first.
Adjust the bike for the extra load
- Tyre pressure — use the loaded or pillion pressures given in your owner's manual.
- Rear preload — increase preload if the rear sags noticeably with luggage and pillion.
- Headlamp aim — a heavily loaded rear tilts the beam upward; adjust it if needed.
Daily checks on a tour
| When | Check |
|---|---|
| Every morning | Stay bolts, top and bottom straps, exhaust clearance |
| Every fuel stop | Straps tight, nothing flapping, zips closed |
| After rough roads | Stay bolts and bag base for rubbing or wear |
| End of the trip | Clean bags, dry them fully, check stitching at anchor points |
Royal Enfield, Bullet and Classic are trademarks of their respective owner. Vago is an independent bag manufacturer and is not affiliated with Royal Enfield. Always follow the instructions supplied with your saddle stays and your motorcycle's owner's manual.
How to fit side bags on a Royal Enfield Bullet
You’ll need: A pair of motorcycle side bags, Saddle stays (side bag frames) made for your model and year, Thread-locking compound (medium strength), Cable ties or strap keepers. Tools: Spanner and socket set, Allen keys, Torque wrench (recommended), Measuring tape.
- 1
Park and prepare the bike
Put the bike on its centre stand on level ground with the engine cold. Remove anything from the pillion seat.
- 2
Identify the mounting points
Locate the rear frame mounting points used by your saddle stays, typically around the rear shock mounts, grab rail and pillion footrest brackets. Compare them with the instructions supplied with the stays.
- 3
Fit the saddle stays
Bolt each stay in place loosely first, check alignment on both sides, then tighten to the specified torque. Use thread-locker where the instructions recommend it.
- 4
Mount the bags
Lay throw-over bags across the seat or hang individual bags on the stays. Fasten the top straps first, then the lower straps around the stays so the bag cannot swing.
- 5
Check exhaust and wheel clearance
Make sure there is clear space between the bags and the exhaust, rear wheel, chain and suspension. Press each bag inward firmly to check it cannot touch moving or hot parts.
- 6
Secure loose straps
Roll or tie up excess strap length with keepers or cable ties so nothing can flap into the wheel or chain.
- 7
Load evenly and test ride
Pack both bags to a similar weight, heavy items at the bottom. Ride slowly first, then stop after 20–30 km and re-check every bolt, strap and clearance.
Frequently asked questions
Sources
- Royal Enfield — owner's manuals and service information — Royal Enfield
Vago Team
Motorcycle luggage specialists
Vago designs and manufactures motorcycle side bags, saddlebags and touring luggage in Jasdan, Gujarat, for riders, accessory dealers and private-label brands across India.
- installation
- saddle stays
- royal enfield
- side bags
- how-to
Keep reading
Motorcycle luggage · 4 min read
Royal Enfield Side Bag Fitment Guide: Bullet, Classic, Hunter, Meteor, Himalayan 450 & 650 Twins
Model-by-model side bag fitment for Royal Enfield: exhaust side, saddle stays, capacity and tips for Bullet 350, Classic 350, Himalayan 450 and the 650 twins.
Motorcycle luggage · 6 min read
Royal Enfield Side Bags: The Complete Buyer's Guide for Bullet, Classic, Himalayan & 650 Riders
How to choose Royal Enfield side bags: capacity, materials, waterproofing, exhaust heat, mounting and fitment for Bullet, Classic, Himalayan and 650s.
Motorcycle touring · 4 min read
Ladakh Bike Trip Luggage Guide: Side Bags, Packing List and Setup for Leh–Ladakh on a Royal Enfield
Plan luggage for a Leh–Ladakh bike trip: which side bags to use, how much space you need, a complete packing list and how to load your Royal Enfield safely.